
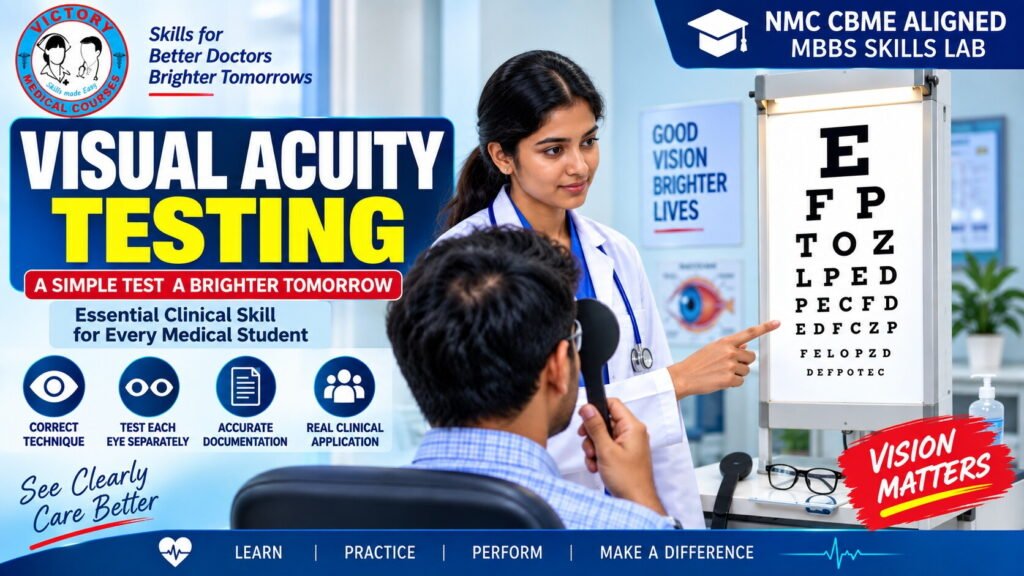
Visual Acuity Testing is an essential clinical examination skill that every undergraduate medical student should be able to perform accurately, systematically, and professionally.
This simulation-based course provides students with a structured approach to assessing distance and near visual acuity. Students are introduced to the principles of visual acuity assessment and then guided through the correct use of a Snellen visual acuity chart, patient positioning, standardized testing distance, appropriate eye occlusion, correction status, systematic assessment, and accurate documentation.
The course emphasizes that visual acuity testing is more than simply asking a patient to read an eye chart. Reliable results depend on maintaining standardized examination conditions and avoiding factors that can introduce measurement errors.
Through demonstrations, teaching visuals, audio explanations, hands-on practice, and competency-based assessment, students develop the practical skills required for routine clinical practice.
LEARNING OBJECTIVES
By the end of this course, students will be able to:
Knowledge
- Define visual acuity.
- Explain the basic principle of visual acuity assessment.
- Describe the purpose and use of a Snellen chart.
- Explain Snellen visual acuity notation.
- State the conventional metric testing distance for distance visual acuity.
- Explain the importance of testing each eye separately.
- Describe the importance of documenting correction status.
Practical Skills
Students will be able to:
- Prepare the equipment and testing environment.
- Explain the procedure clearly to the patient.
- Position the patient correctly.
- Maintain the standardized testing distance.
- Determine whether testing is performed with or without correction.
- Correctly occlude the non-tested eye.
- Test the right eye systematically.
- Test the left eye systematically.
- Perform near visual acuity testing when indicated.
- Recognize markedly reduced visual responses.
- Document visual acuity accurately.
Communication and Professionalism
Students will demonstrate:
- Appropriate patient introduction.
- Clear explanation of the procedure.
- Respectful communication.
- Patient comfort and privacy.
- Neutral examiner behaviour.
- Avoidance of verbal and non-verbal cues.
- Professional documentation.
COURSE CONTENT
MODULE 1 — INTRODUCTION TO VISUAL ACUITY
Students are introduced to:
- Definition of visual acuity
- Clinical importance of visual acuity testing
- Role of visual acuity in routine eye examination
- Basic principle of standardized visual assessment
- Importance of reliable and reproducible testing
MODULE 2 — EQUIPMENT AND SKILLS-LAB SETUP
Students learn to identify and prepare:
- Snellen visual acuity chart
- Patient chair
- Eye occluder
- Measuring tape
- Near-vision chart
- Appropriate illumination
- Documentation sheet
The course demonstrates how to create a standardized testing environment before beginning the examination.
MODULE 3 — PATIENT COMMUNICATION AND PREPARATION
Students learn how to:
- Introduce themselves.
- Confirm the patient’s identity where appropriate.
- Explain the procedure.
- Reassure the patient that the test is painless.
- Explain how the patient should respond.
- Maintain privacy and dignity.
- Obtain patient cooperation.
Emphasis is placed on simple, patient-friendly communication.
MODULE 4 — CORRECT POSITIONING AND TESTING DISTANCE
Students learn the importance of:
- Correct patient positioning
- Appropriate chart positioning
- Standardized testing distance
- Adequate illumination
- Avoidance of visual distractions
For conventional metric Snellen testing, the course demonstrates the standard 6-metre testing distance, while emphasizing that the appropriate distance should correspond to the chart and protocol being used.
MODULE 5 — TESTING WITH OR WITHOUT CORRECTION
Students learn to establish whether the patient normally uses:
- Spectacles
- Contact lenses
The course explains the importance of documenting whether visual acuity was assessed with or without correction, because correction status is essential for interpreting the result.
MODULE 6 — CORRECT EYE OCCLUSION
Students learn how to correctly occlude the non-tested eye.
The course emphasizes:
- Complete occlusion
- No pressure on the eye
- Prevention of peeking around the occluder
- Avoiding tight squinting
- Maintaining patient comfort
Students understand why inadequate occlusion can compromise the reliability of the examination.
MODULE 7 — DISTANCE VISUAL ACUITY TESTING
Students are guided through the complete procedure:
Prepare → Explain → Position → Establish distance → Check correction → Occlude → Test OD → Test OS → Record
The student learns to:
- Test the right eye independently.
- Test the left eye independently.
- Ask the patient to read progressively smaller optotypes.
- Encourage attempts without giving clues.
- Identify the appropriate visual acuity result.
- Record the finding accurately.
MODULE 8 — NEUTRAL EXAMINER TECHNIQUE
An important component of the course is examiner neutrality.
Students learn to avoid:
- Giving verbal hints
- Pointing toward the correct answer
- Facial expressions that indicate correctness
- Repeatedly prompting the patient
- Influencing the patient’s response
The course reinforces the principle:
Observe the patient’s vision — do not help the patient produce the result.
MODULE 9 — NEAR VISUAL ACUITY
Students are introduced to near visual acuity assessment using an appropriate near-vision chart.
They learn:
- Correct chart selection
- Adequate illumination
- Appropriate standardized distance for the chart
- Testing each eye when clinically indicated
- Avoidance of examiner cues
- Correct documentation
MODULE 10 — MARKEDLY REDUCED VISUAL ACUITY
Students learn what to do when a patient cannot identify the largest optotype on the chart.
The course introduces systematic assessment of reduced vision, which may include appropriate documentation of findings such as:
- Counting fingers
- Hand movements
- Perception of light
- No perception of light
Students are taught not to incorrectly convert these findings into a Snellen fraction.